Welcome to our step-by-step guide on how to make cannabis tincture. Whether you’re a seasoned cannabis enthusiast or just looking to try something new, making your own tincture can be a fun and rewarding process. In this guide, we’ll walk you through the steps to create your own cannabis tincture at home.
What is a cannabis tincture?
Before we dive into the process, let’s take a moment to understand what a cannabis tincture is. A tincture is a liquid extract made by soaking cannabis in a solvent, typically alcohol, to extract its active compounds. Tinctures are known for their versatility and ease of use, making them a popular choice among cannabis consumers.
Step 1: Gather your ingredients
The first step in making cannabis tincture is gathering all the necessary ingredients. Here’s what you’ll need:
- 1 ounce of dried cannabis flower
- High-proof alcohol, such as Everclear or vodka
- A mason jar with a tight-fitting lid
- A fine-mesh strainer or cheesecloth
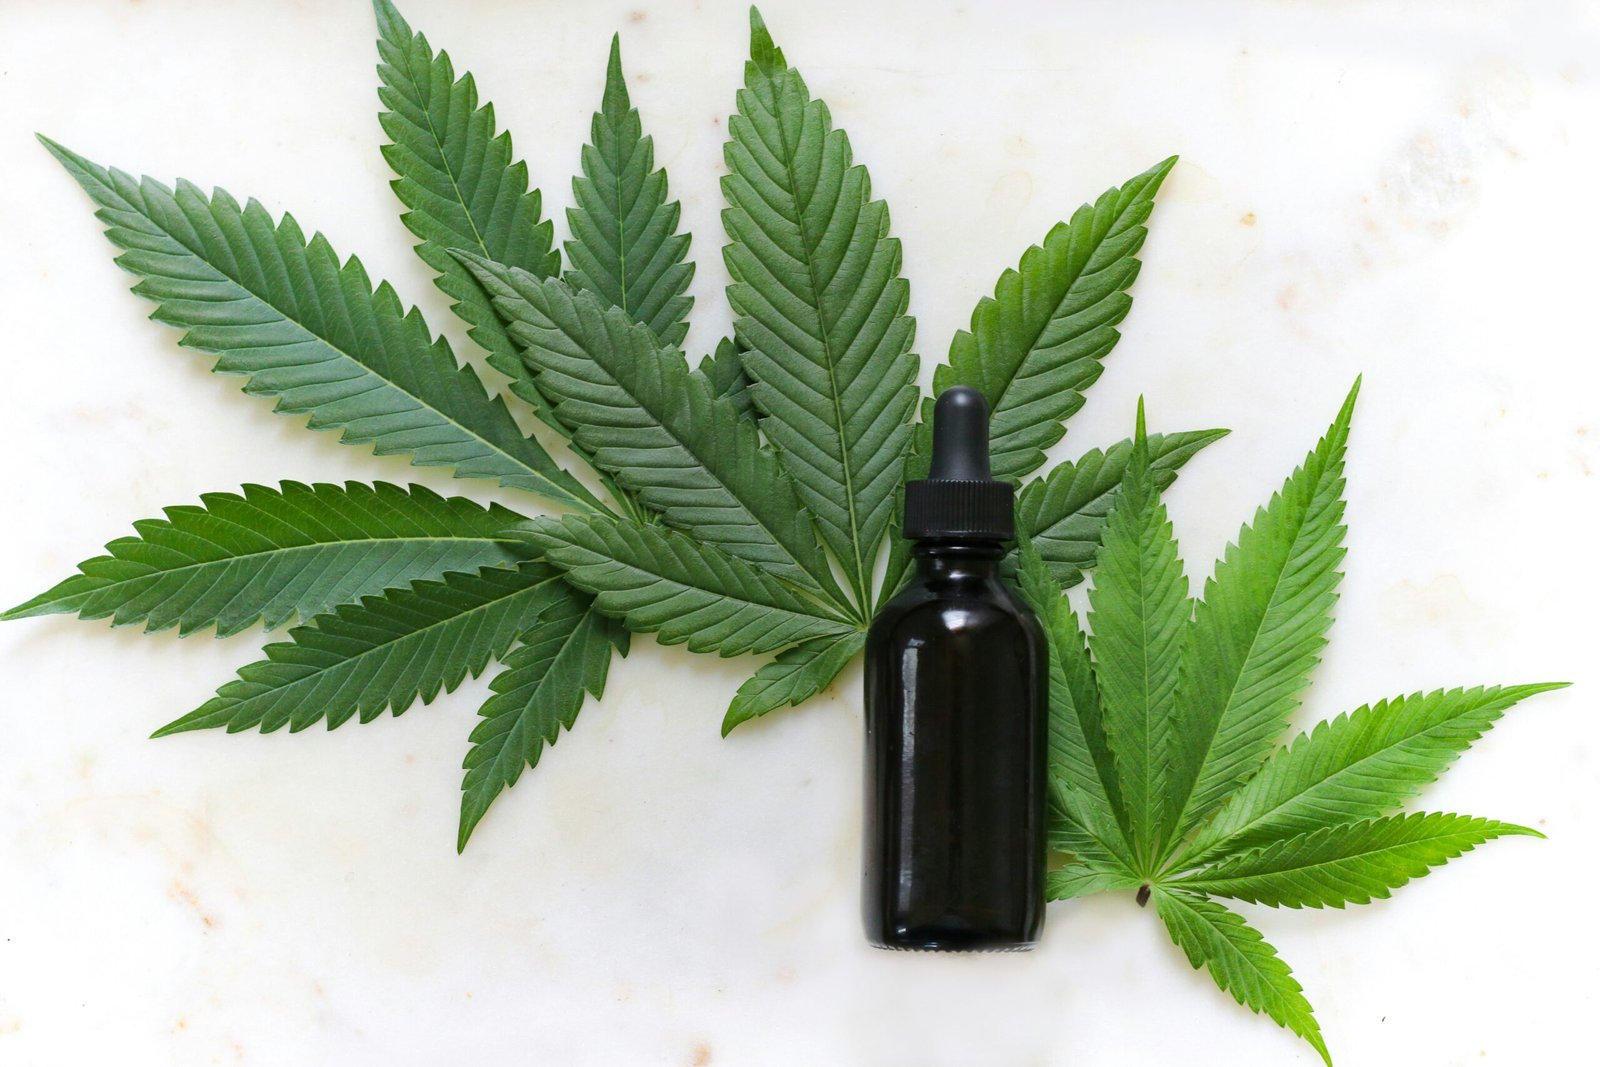
- A glass dropper bottle for storing the tincture
Step 2: Decarboxylation
Decarboxylation is a crucial step in the cannabis tincture-making process. It involves heating the cannabis flower to activate its compounds, making them more bioavailable. To decarboxylate your cannabis, follow these steps:
- Preheat your oven to 240°F (115°C).
- Break up the dried cannabis flower into small pieces and spread them evenly on a baking sheet.
- Place the baking sheet in the oven and bake for 40-60 minutes, or until the cannabis becomes lightly golden and fragrant.
- Remove the cannabis from the oven and let it cool.
Step 3: Infusion
Now that your cannabis is decarboxylated, it’s time to infuse it into the alcohol. Follow these steps:
- Place the decarboxylated cannabis into the mason jar.
- Pour enough alcohol into the jar to completely cover the cannabis.
- Seal the jar with the lid and give it a good shake to ensure the cannabis is fully submerged.
- Store the jar in a cool, dark place for at least two weeks, shaking it daily to promote the extraction process.
Step 4: Straining and storing
After two weeks, it’s time to strain the tincture and transfer it into a glass dropper bottle for storage. Here’s what you need to do:
- Place a fine-mesh strainer or cheesecloth over a clean container.
- Pour the tincture through the strainer, allowing the liquid to collect in the container while filtering out the plant material.
- Once all the liquid has been strained, transfer it into a glass dropper bottle for easy dosing.
- Store the tincture in a cool, dark place to preserve its potency.
Step 5: Enjoying your cannabis tincture
Now that your cannabis tincture is ready, it’s time to enjoy the fruits of your labor. Tinctures can be consumed sublingually by placing a few drops under the tongue or added to food and beverages for a discreet and convenient way to consume cannabis. Start with a low dose and gradually increase as needed to find your desired effects.
Conclusion
Congratulations! You’ve successfully made your own cannabis tincture. Remember to always label your tincture with the date and dosage to keep track of its potency. Making your own tincture allows you to customize the potency and strain to suit your preferences, making it a great option for both medical and recreational cannabis users. So go ahead, get creative, and enjoy the benefits of homemade cannabis tincture!